1章 ルービックキューブ7X7とは
7X7の揃え方を見たい人は 2章 に進んでください
ルービックキューブの歴史
ルービックキューブは、ハンガリーの建築学者であり、ブダペスト工科大学教授だったエルノー・ルービック氏が1974年に考案した立方体のパズルです。
学生たちに3次元幾何学を説明するための「動くモデル」を求め、ドナウ川の流動を見て発明のヒントを得たという。最初のキューブの原型は、木製の立方体でした。
ルービックは「マジック・キューブ」(魔法の立方体)という名前で特許を取得し、1977年にハンガリーの玩具製造会社「ポリテクニカ」から最初のキューブが発売されました。
ハンガリー国内で異例の大ヒットとなったルービックキューブは、1980年に世界展開をするにあたり、発明者の名前を冠して、名称を「ルービックキューブ」に変更します。そして、1982年までの2年間で1億個以上という、驚異的な売上を記録することになるのです。
ルービックキューブは、そのシンプルな見た目とは裏腹に、6面をすべて同じ色に揃えるためには、複雑な手順を覚える必要があり、多くの人々を熱狂させました。また、世界中でルービックキューブを解くための大会が開催され、世界記録は日々更新されています。
ルービックキューブ の種類
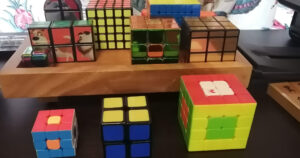
ルービックキューブには、3×3が基本ですが、2X2,4×4,5×5,7×7など、さまざまなサイズや形状のものがあります。また、色の数が少ないものや、面に数字や文字が書かれたのものなど、さまざまなバリエーションがあります。
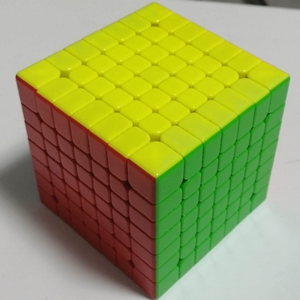
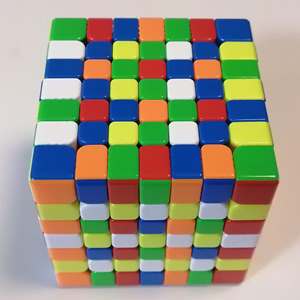
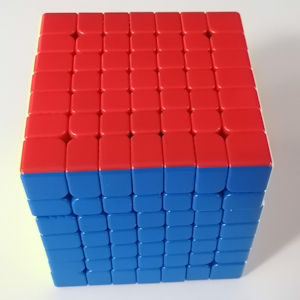
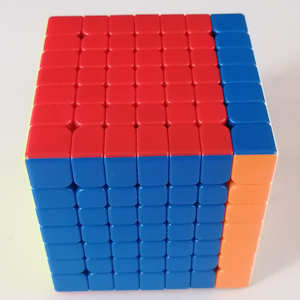
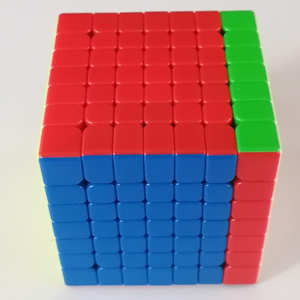
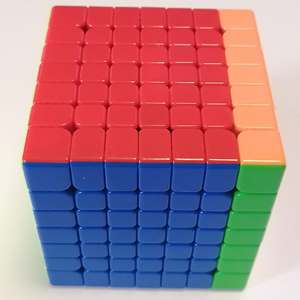
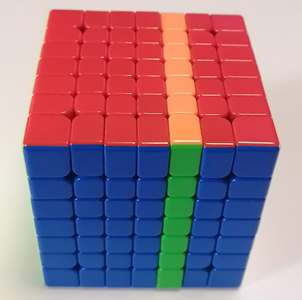
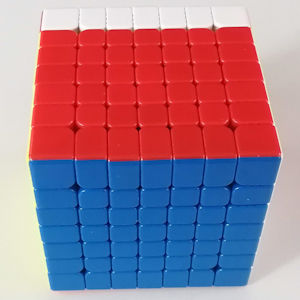
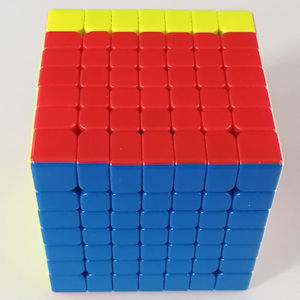
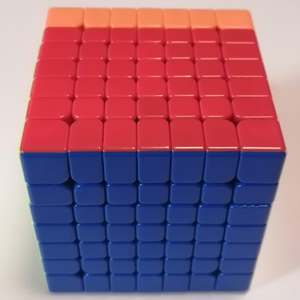
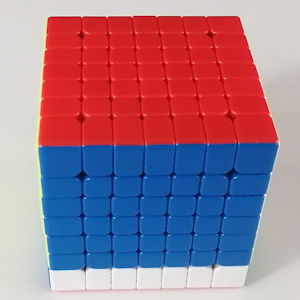
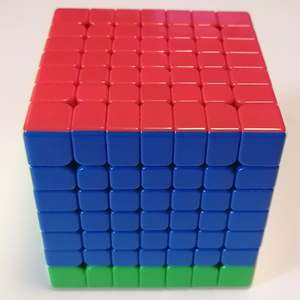
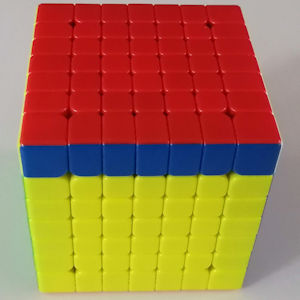
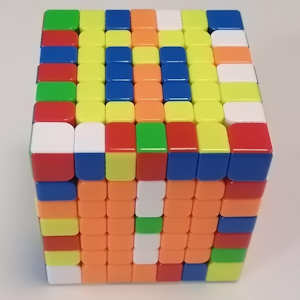
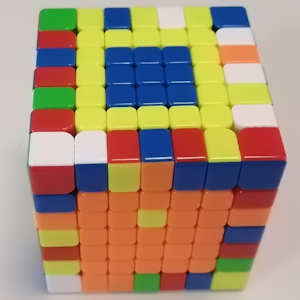
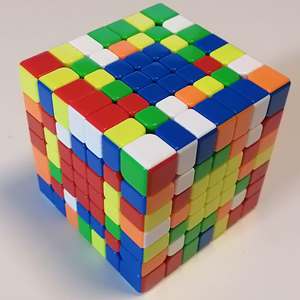
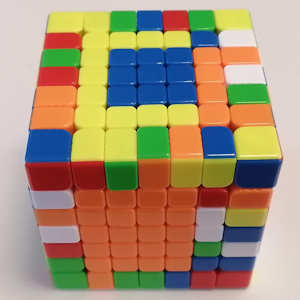
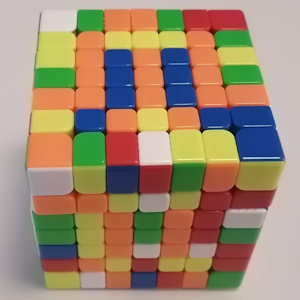
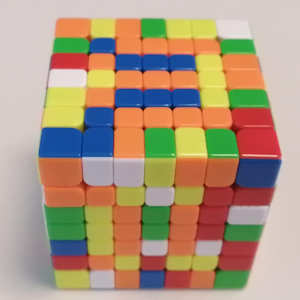
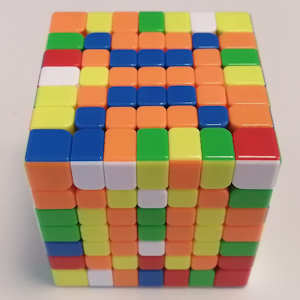
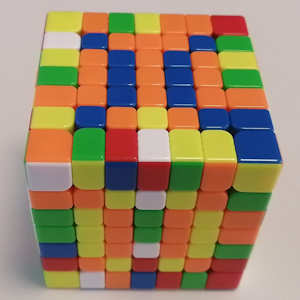
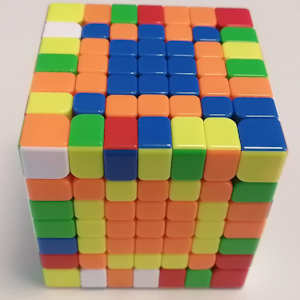
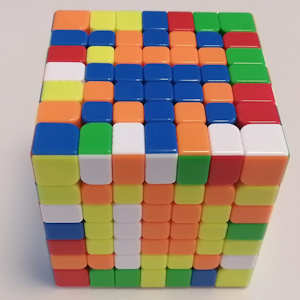
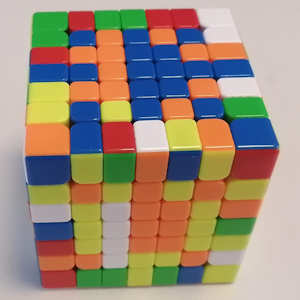
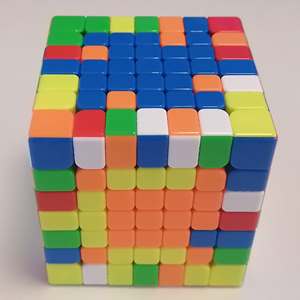
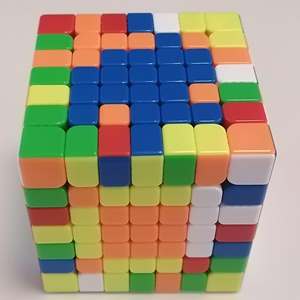
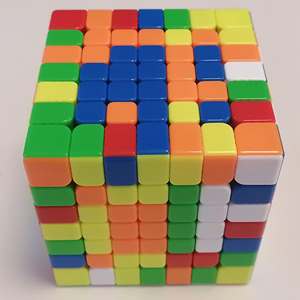
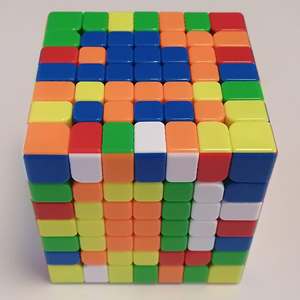
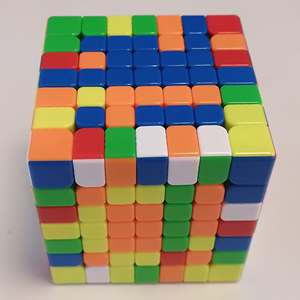
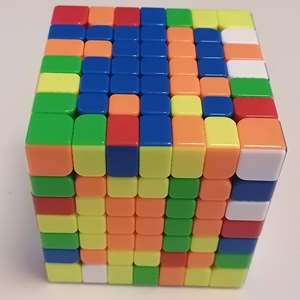
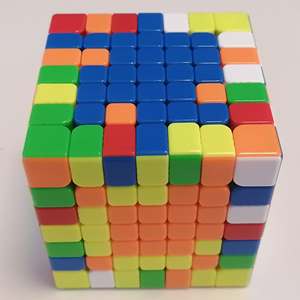
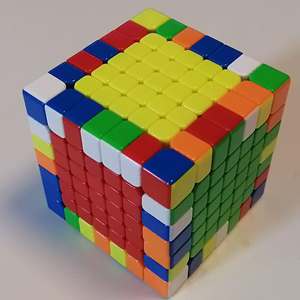
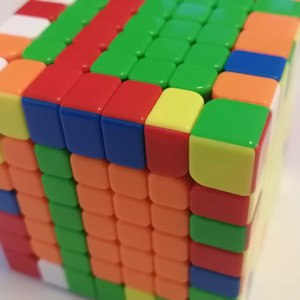
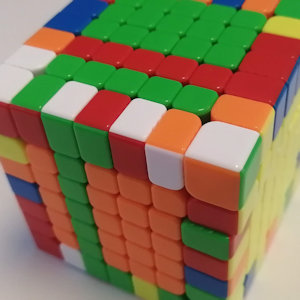
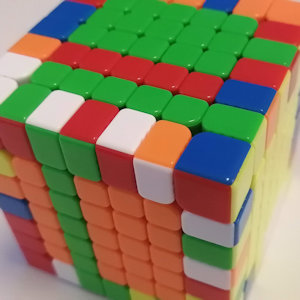
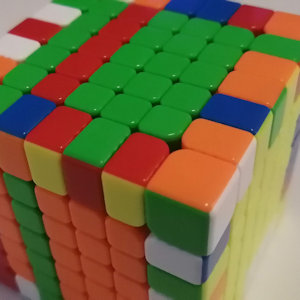
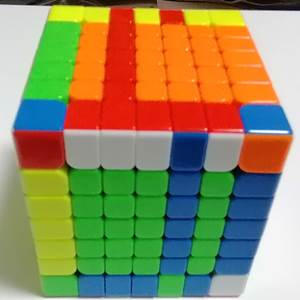
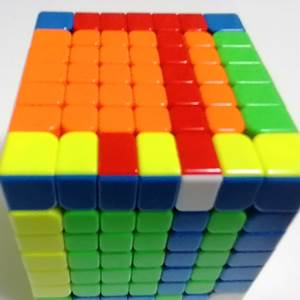
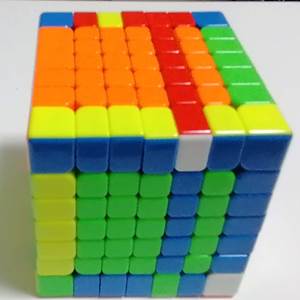
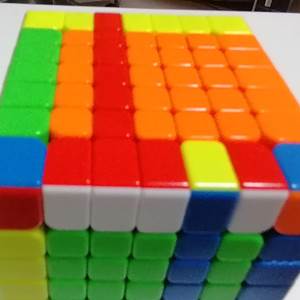
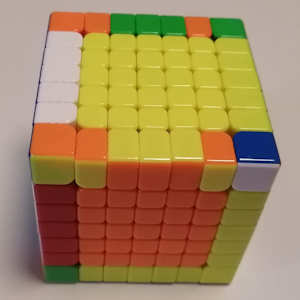
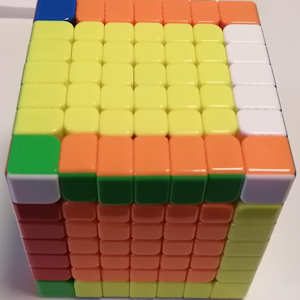
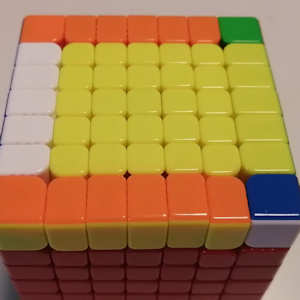
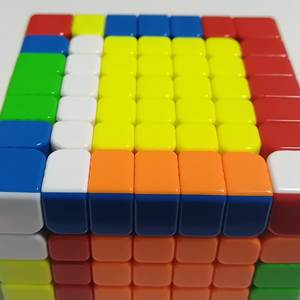
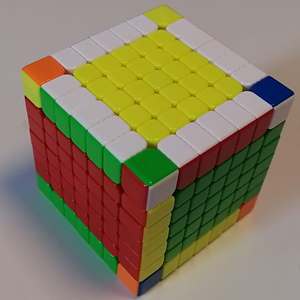
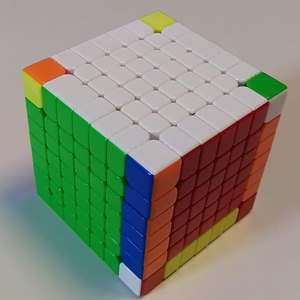
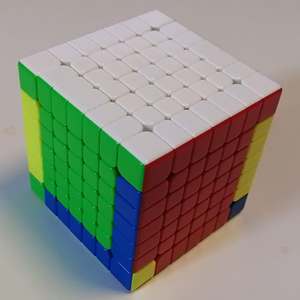
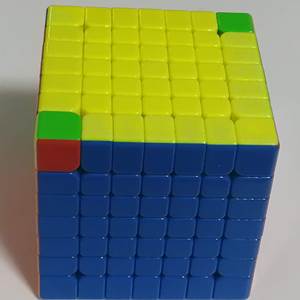
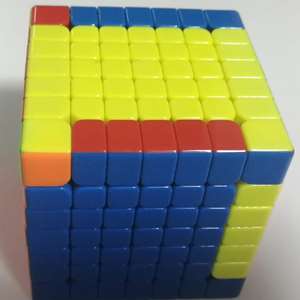
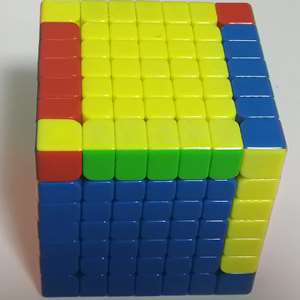
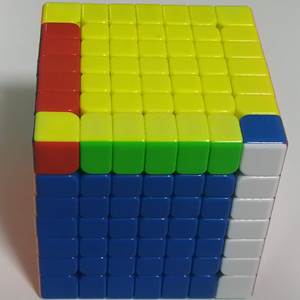
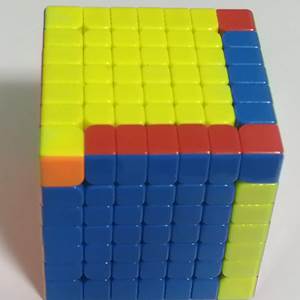
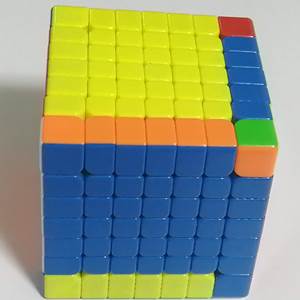
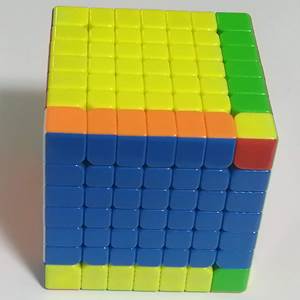
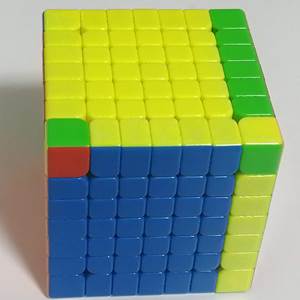
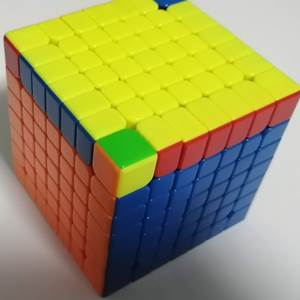
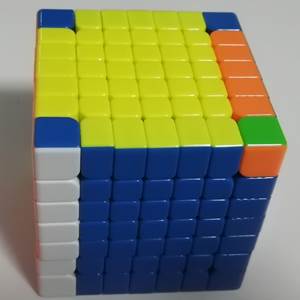
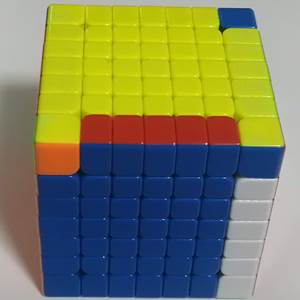
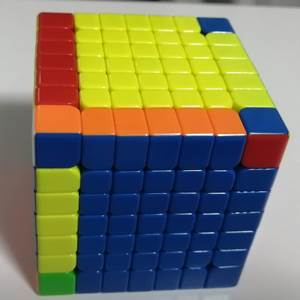
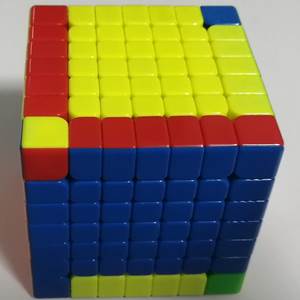
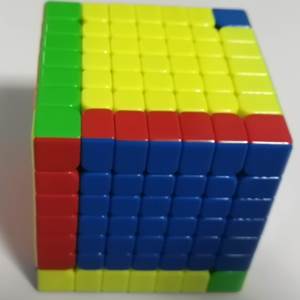
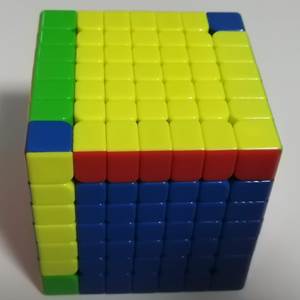
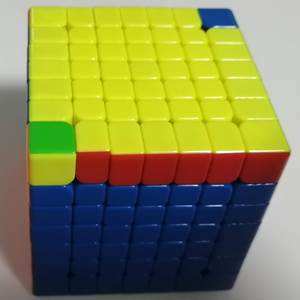
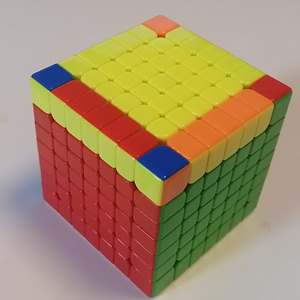
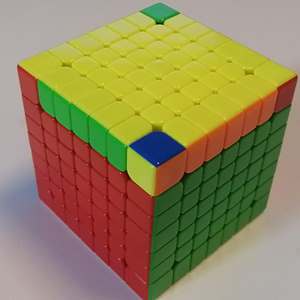
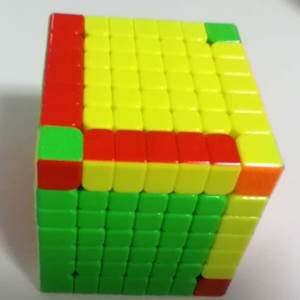
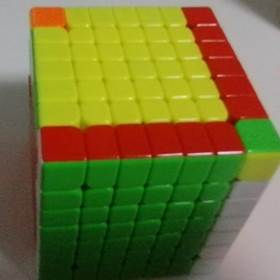
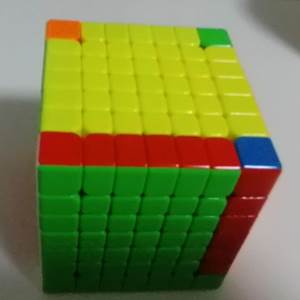
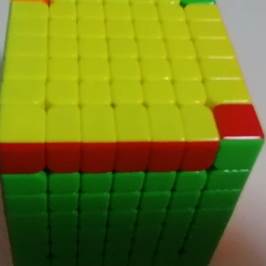
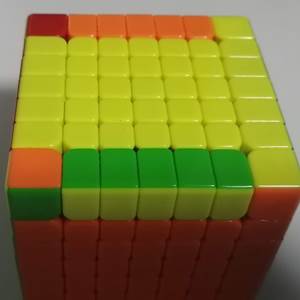
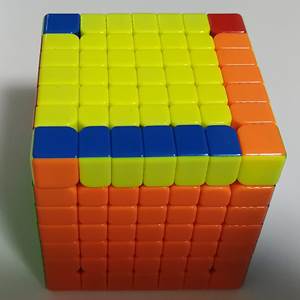
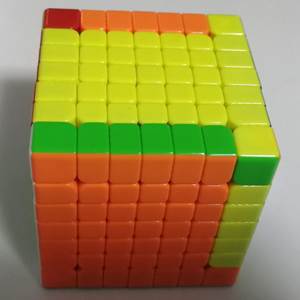
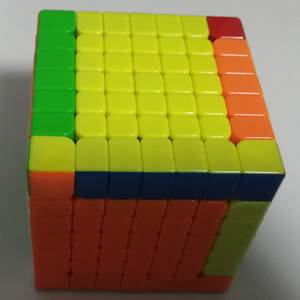
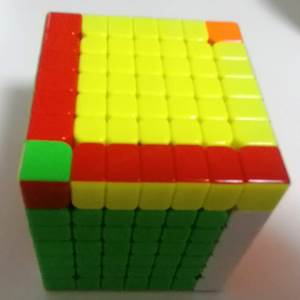
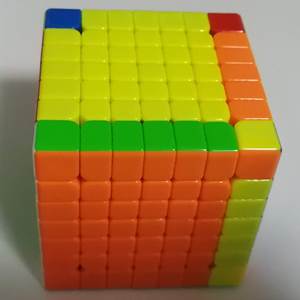
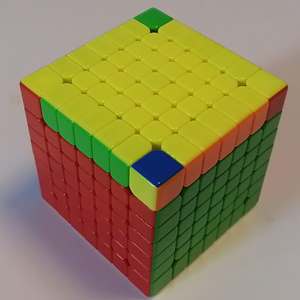
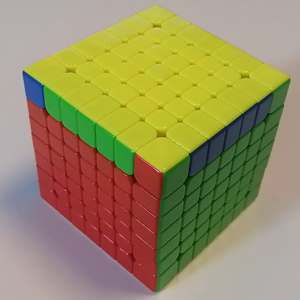
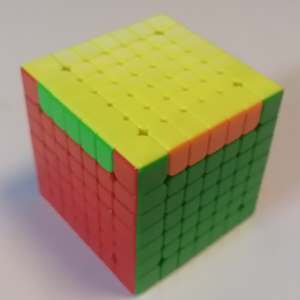
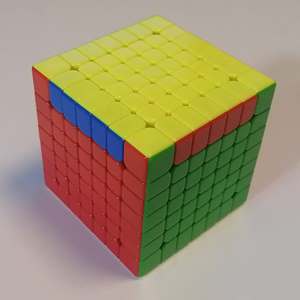
ルービックキューブ 7x7x7 は、それぞれ6色の正方形に揃えるパズルです。3x3x3のキューブの6倍のピース数があり、解き方も非常に複雑です。7X7X7は構造上の理由で丸みがある面だったのですが、最新の7X7は面が平らになっています。
7X7の仕様と攻略法
仕様
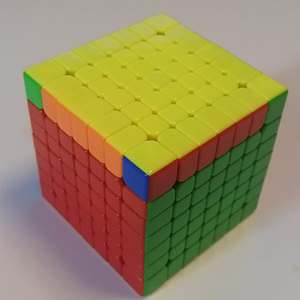
サイズ:67mm
ピース数:512
重量:180g
推奨年齢:12歳以上
攻略方法
さまざまな方法がありますが、初心者でも、簡単な手順を見ながら6面を揃えることが可能です。5X5の揃え方と同じですが、上級者向は、複雑な手順を組み合わせることで、より短い時間で6面を揃えることが可能です。
世界記録
2023年10月3日現在、7x7x7 のキューブの世界記録は、マックス・パーク氏が2023年8月1日に記録した3.13秒です。
ルービックキューブの魅力と楽しみ方
7x7も手順を覚えたら、誰でも完成できますが、詳しい手順が記載されているページがありませんでした。
「誰でも揃えられる」ように保存版として詳細に記述しました。手順は長くても簡単に完成できるように図解を沢山入れています。楽しみながら、完成させてください。
部屋に飾る時も完成形で飾ったが良いですよね。
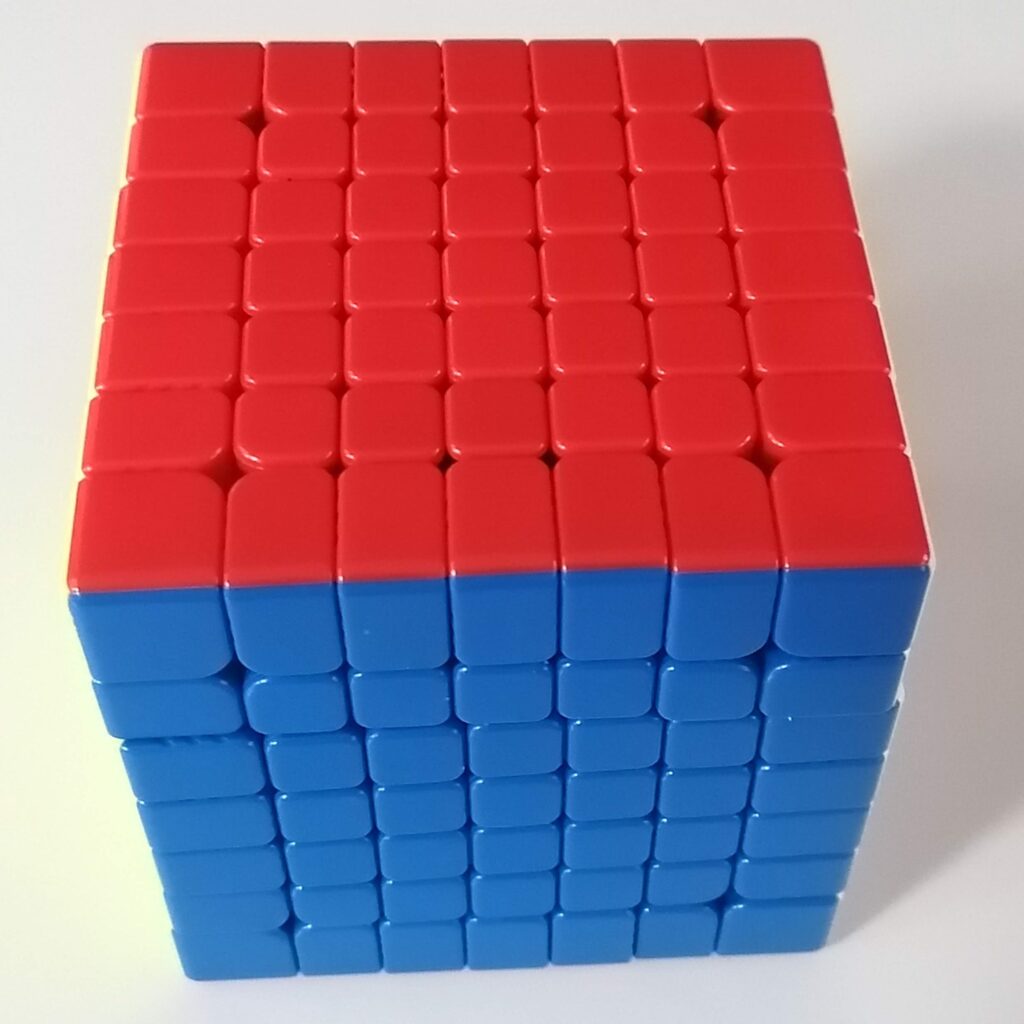
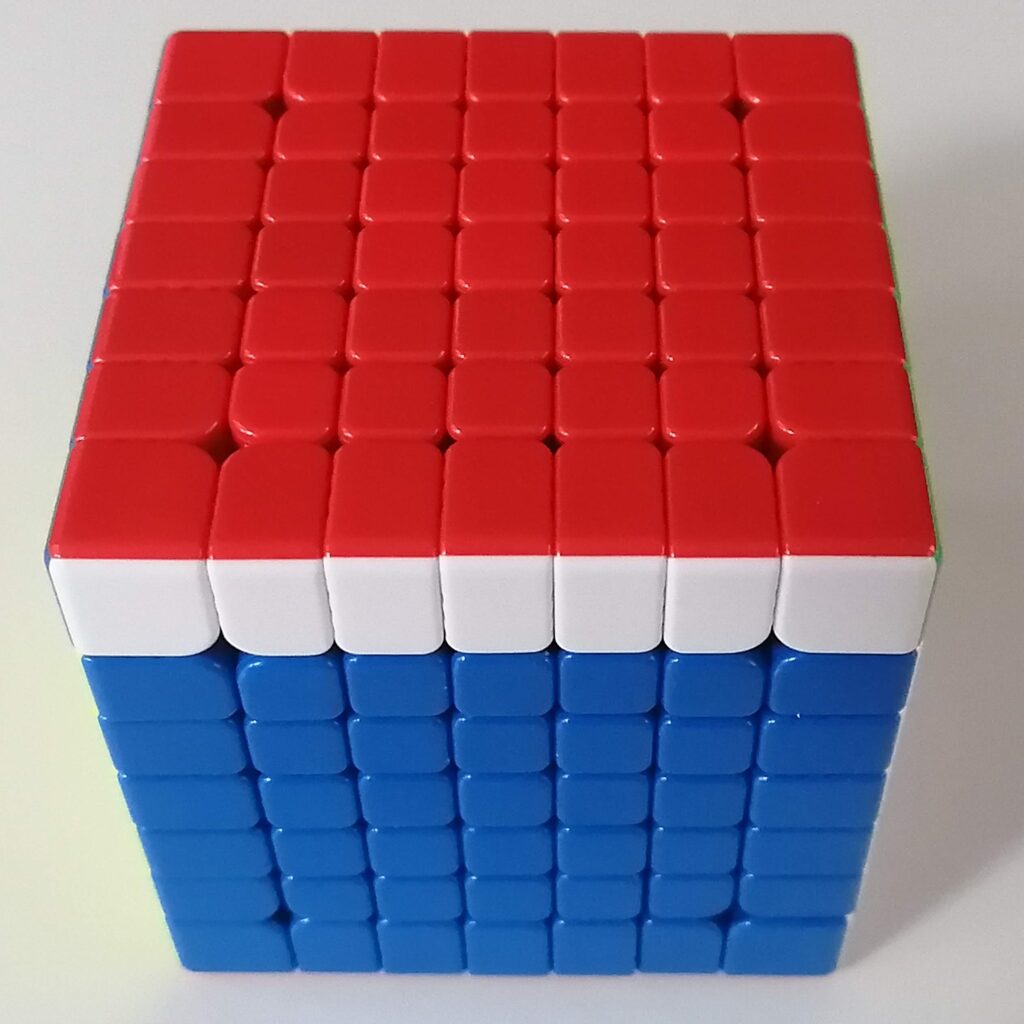
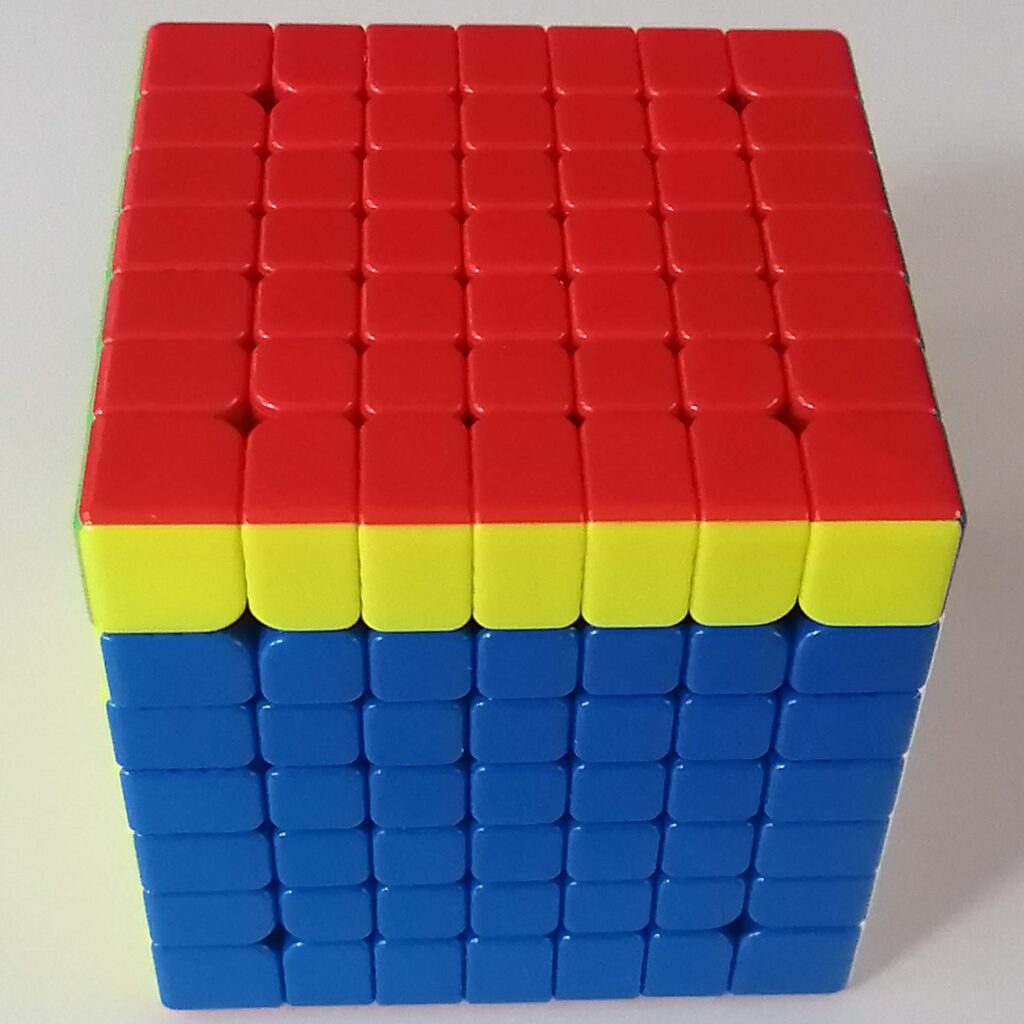
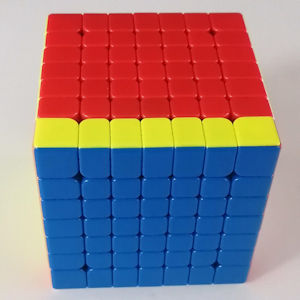
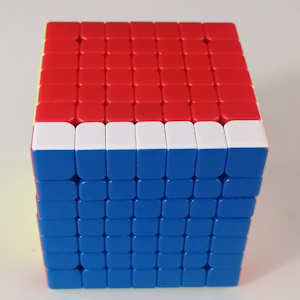
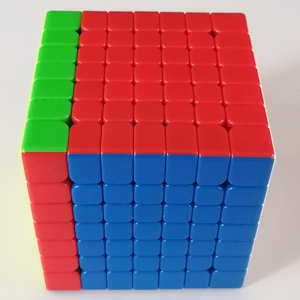
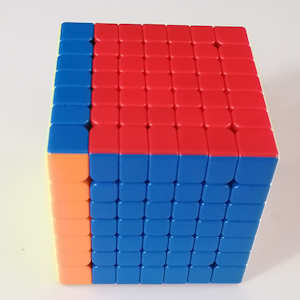
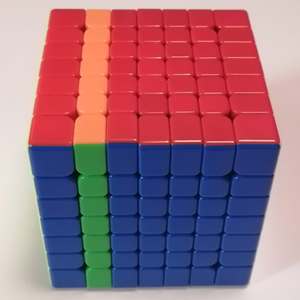
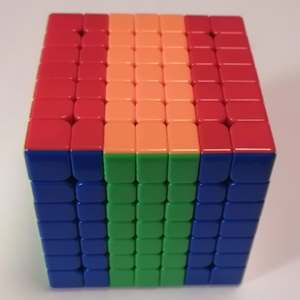
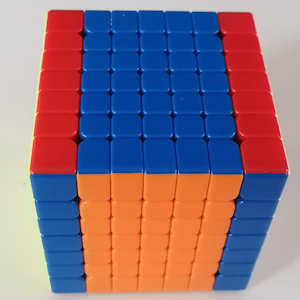
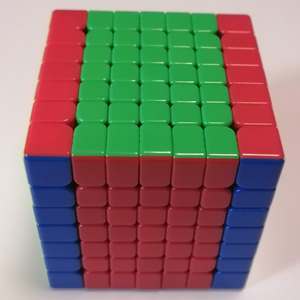
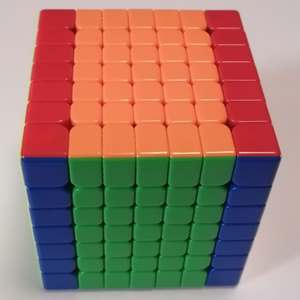
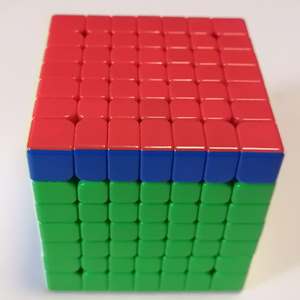
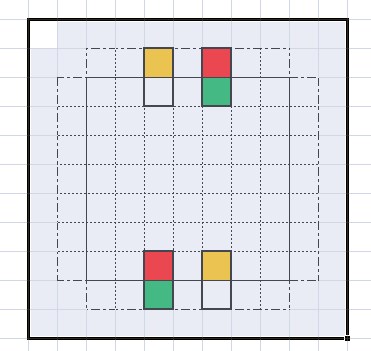
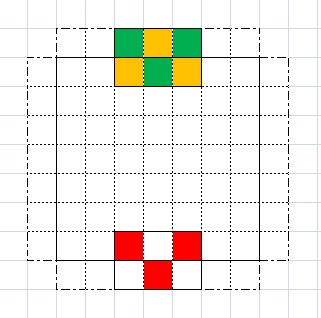
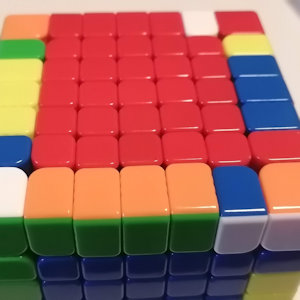
ルービックキューブの色構成
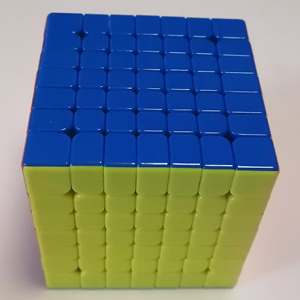
青・黄
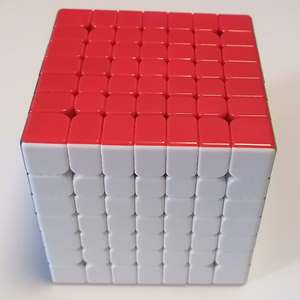
赤・白
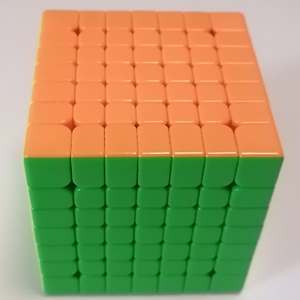
橙・緑
面の呼び名と回転表記法(U,F,R,R2,R3,L,L2,L3,M,M3,B,D,D6)
説明はいらないという人は 第2章 に進んでください。
ルービックキューブの表記方法は、キューブの回転を表した記号を用いて、キューブをどのように回転させたかを示すものです。
基本記号
ルービックキューブは6つの面があり、各面にはアルファベットの頭文字が割り当てられています。
(独自表記)
色々と調べたのですが、7x7x7の正式な表記方法が見つからかったので、一部を独自の表記にしています。正式な記載方法が判る人は教えて頂くと助かります。
U 上面の右回転
U
右90度
U’
左90度
UU
180度
F 前面の右回転
F
右90度
F’
左90度
FF
180度
R 右面の右回転

R
右90度
R’
左90度
RR
180度
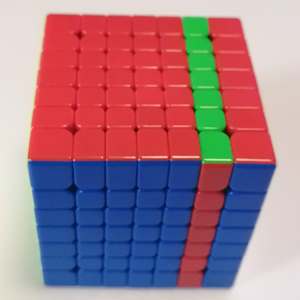
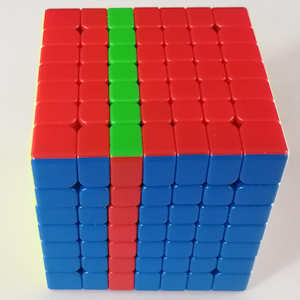
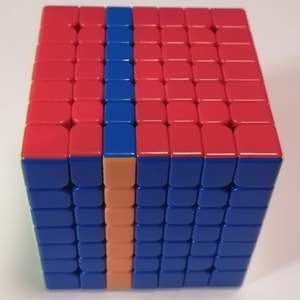
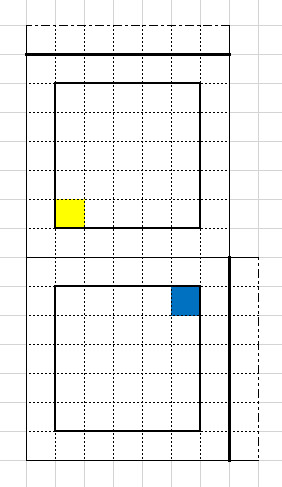
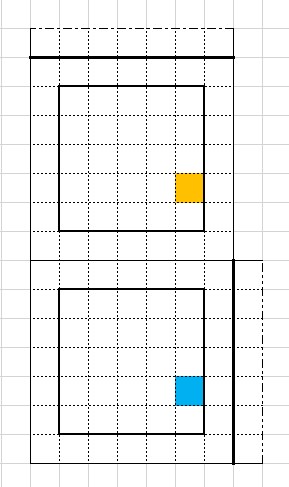
R2 (独自表記) 縦右から2列目
R3 (独自表記) 縦右から3列目
R2
右90度
R2′
左90度
R2R2
180度
R3
右90度
R3′
R3R3
L 左面の右回転

L
右90度
L’
左90度
LL

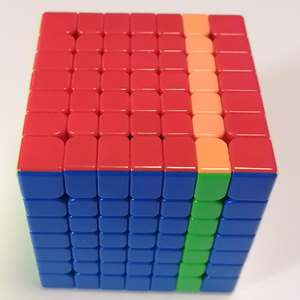
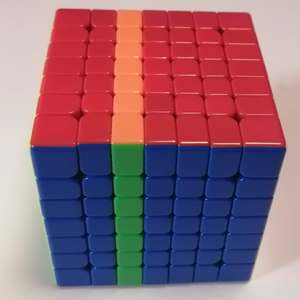
L2 (独自表記) 縦左から2列目
L3 (独自表記) 縦左から3列目
L2
右90度

L2′

L2L2
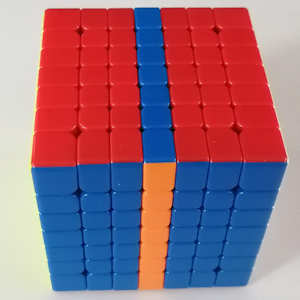
L3
右90度
L3′
L3L3
M 縦 中央 (回転)
M
上90度
M’
左90度
MM
180度
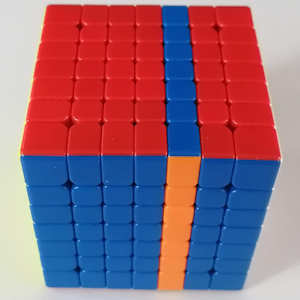
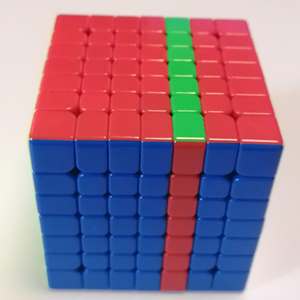
M3 (独自表記) 中央の縦3列
M5 (独自表記) 中央の縦5列
M3
右90度
M3′
左90度
M3M3
180度
M5
右90度
M5′
左90度
M5M5
180度
B 背面の1列 右回転
B
右90度
B’
左90度
BB
180度
D 下面 右回転(下から見て)
D
右90度
D’
左90度
DD
180度
D6 (独自表記) 下6列同時
D6
右90度
D6′
左90度
D6D6
180度
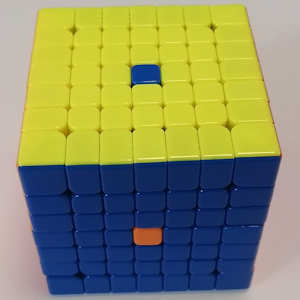
2章 最初に中央の3X3を揃えます
STEP-1・・(中央の3X3) コーナーを入れる
step-1: 3×3 コーナー
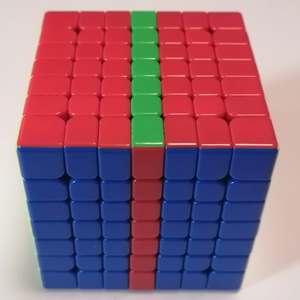
R3 U’ R3′
まず、中央の3X3のコーナーを埋めます。
1面のみ作成して、次のSTEPに進んでもいいし、6面全ての3X3を揃えてから 次のSTEPに進んでも構いません。
間違えたときに 訂正しやすいように3X3を1面づつ揃える事を推奨します。
推奨手順
黄面 3X3 のSTEP1+STEP2
赤面 3X3 のSTEP1+STEP2
青面 3X3 のSTEP1+STEP2
残り3面 適当にどうぞ
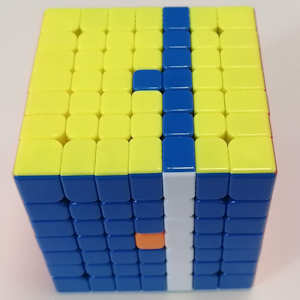
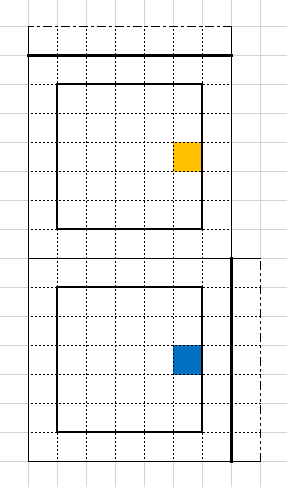
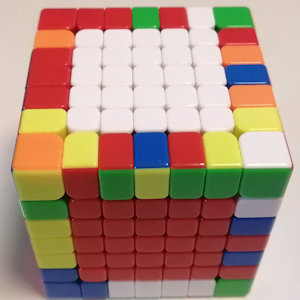
STEP-2・・(中央の3X3) エッジの揃え方
step-2: 3×3 エッジ
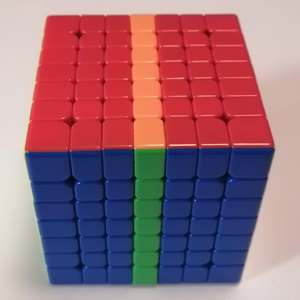
R3 U’ M U
R3′ U’ M’
R3 入れる
U’ 逃げる
M 逃げる
U 戻す
R3′ 戻す
U’ 迎え
M’ 戻す

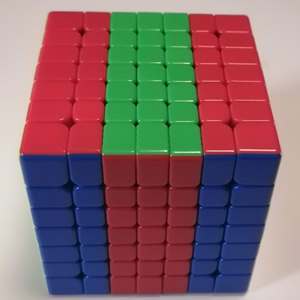
STEP-2・・完成形 (3X3 6面完成)
3章 中央の5X5の揃え方
STEP-3・・(中央の5X5) コーナーの揃え方
最初に6面全部のコーナーを入れてからSTEP-4~STEP6 に進んだ方が操作が楽です
お勧めの色順は黄→赤→青です。残り3面は隣接するので、その後が揃えやすくなります。
step-3: 5×5 コーナー
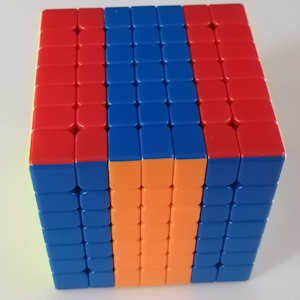
R2 U’ R2’
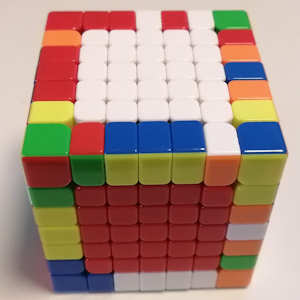
STEP-3 完成形
STEP-4・・(中央の5X5) 右エッジ 上から3個目(真ん中)の揃え方
STEP-4~STEP-6 は同じような手順です
step-4: 5×5 エッジ
R2 U’ M U
R2’ U’ M’
R2 入れる
U’ 逃がす
M 逃がす
U 戻す
R2’ 戻す
U’ 迎え
M’ 戻す

STEP-4 完成形
STEP-5・・(中央の5X5) 右エッジ 上から2個目の揃え方
step-5: 5×5 エッジ
R2 U’ L3’ U
R2’ U’ L3


STEP-6・・(中央の5X5) 右エッジ 下から2個目の揃え方
step-6: 5×5 エッジ
R2 U’ R3 U
R2’ U’ R3’

STEP-3~STEP-6 完成形 (5X5 6面完成)
中央の5X5が揃ったので、次はエッジを揃えます
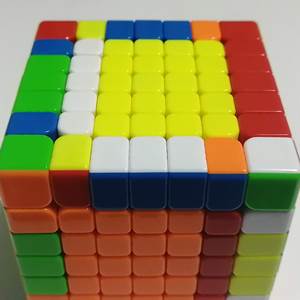
4章 エッジ(1X5)の揃え方
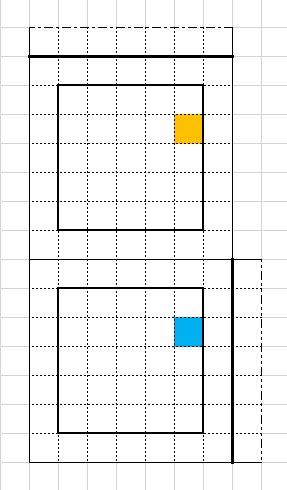
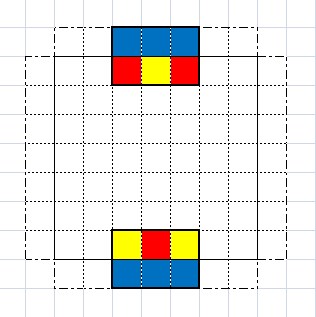
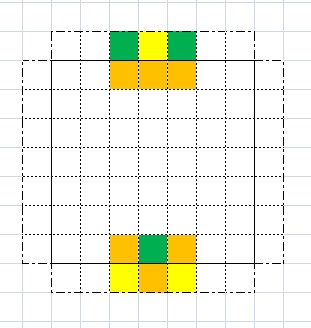
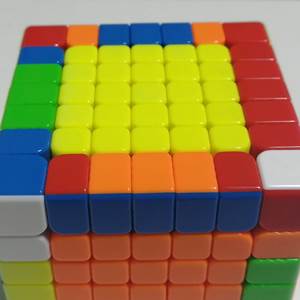
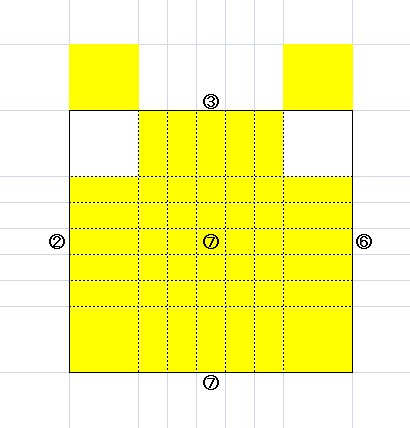
STEP-7・・1X3 両端を揃える (12か所)
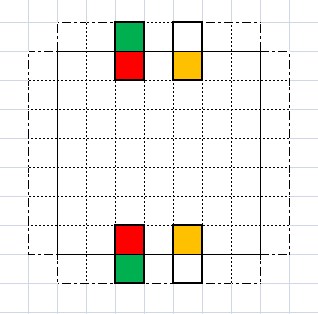
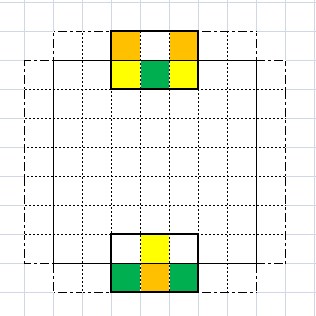
パターン1 2セットの正位置の揃え方
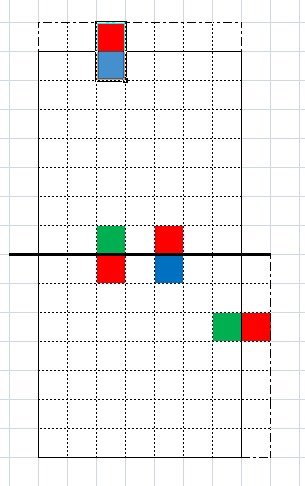
(赤青) と (赤緑)のペアを同時にそろえます。
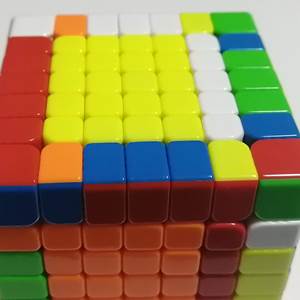
手前の右から3番目の(赤青) の逆色になるように 向かい側の左から3番目に(赤青)をセットします。
次に。
正面左から3番目の(赤緑)の逆色になるように正面右、上から3番目に(赤緑)をセットします。
→ 右の手順を実施
step-7: 1×3 両端
L3 U’ R U L3′
L3 赤青のキューブを入れます
U’ 赤青2個ペアを逃がす
R 赤青を逃がす・赤緑を移動
U 赤緑を迎えに
L3′ 赤赤を入れます
1回で2セット揃うので、合計 6回実施すると 12か所すべての1X3が揃います
パターン 2 2個が向き合う → パタン 3に変える
(橙白)の2個をセットしたが、(赤緑)が正面右、上から3番目にに持ってこれない状態。
パーツが既に向こう側の右から3番目にある時は
手順を変えます
step-7: 1×3 両端 色が逆になっている時は 色の向きを変えます
B D6′ B

パターン 3 2組が同面同色で相対する位置の揃え方
step-7: 1×3 両端 同面同色
L3 F U’ R
F’ U L3′
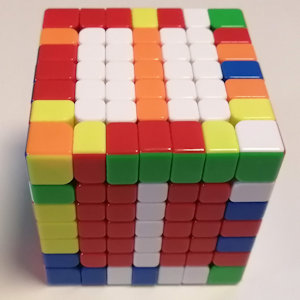
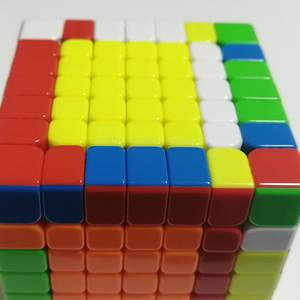
STEP-7 完成形

1X3 の両端、12か所が揃いました。
次は
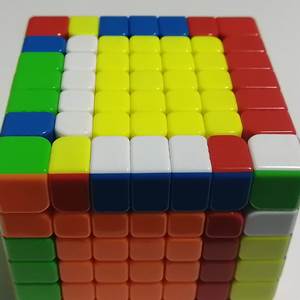
1X3の中央を同じ色にして 3個を同じ色に変えます。
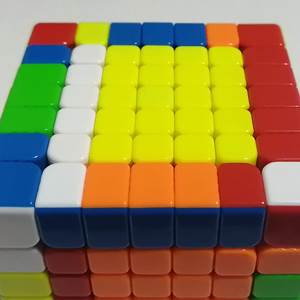
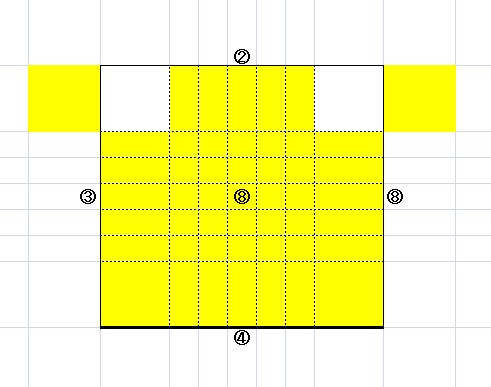
STEP-8・・1X3 中央を揃える(12か所)
パターン 1 3か所の配置と色を合わせる

STEP-8: 1×3 中央
M’ U’ R U
M


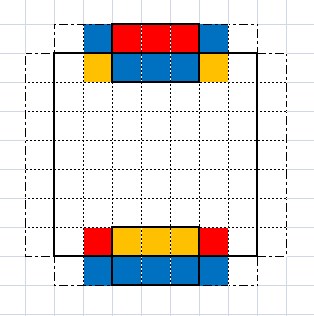
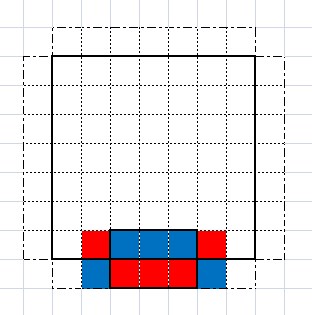
パターン 2 2セットが向き合っている時の揃え方
step-8: 1×3 2組
M’ U’ M’ U’
M’ UU M U’
M U’ M
パターン 3 2組のセット 2組ともに色が逆 → パターン 4に変更
step-8: 1×3 1組 Reverse
B D6′ B
パターン 4 2組が同面同色の揃え方
step-8: 1X3 2組 同色同面
L3L3 FF UU L3L3
UU FF L3L3
パターン 5 2組の1組が逆色の揃え方 パターン 6になる
step-8: 1組 Reverse
L3L3 FF UU L3L3
UU FF L3L3
パターン 6 1か所のみの揃え方
step-8: 1X3 1組
L3L3 BB R3′ FF
L3 FF UU L3
UU L3′ UU R3
UU BB L3L3
間違えやすいので、
操作する時は声に出してください。
STEP-8 完成形
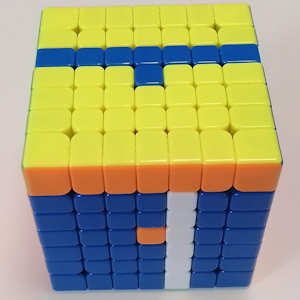
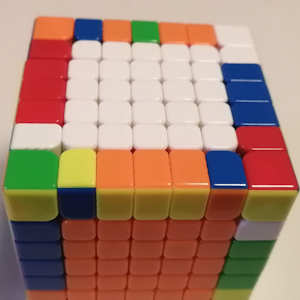
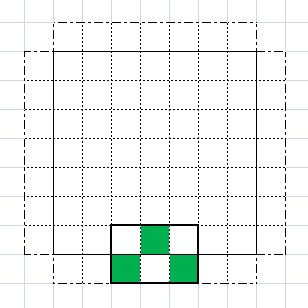
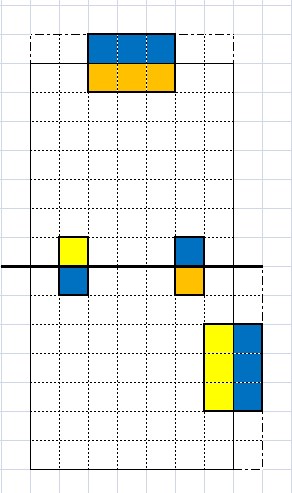
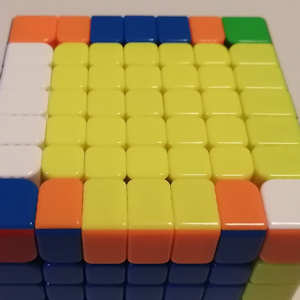
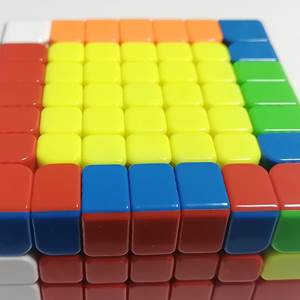
STEP-9・・1X5 両端を揃える(12か所)
パターン 1 3か所が正位置の時
step-9: 1×5 両端
L2 U’ R U
L2′


パターン 2 2組が向き合っている時 パターン 3 に変える
step-9: 1X5 Reverse
B D6′ B

パターン 3 向き合った2組が同面同色の揃え方
step-9: 1X5 両端 同色同面
L2 F U’ R
F’ U L2′
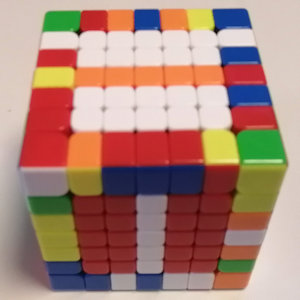
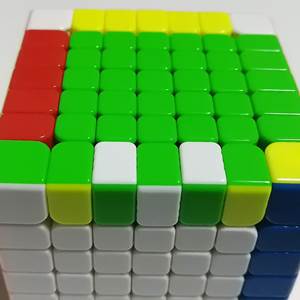
STEP-9 完成形
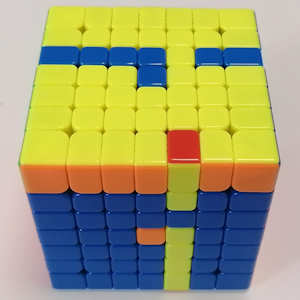
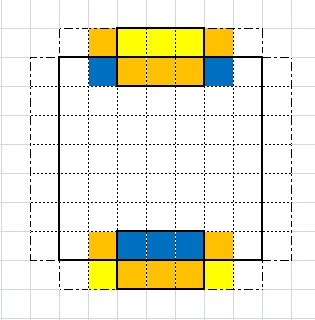
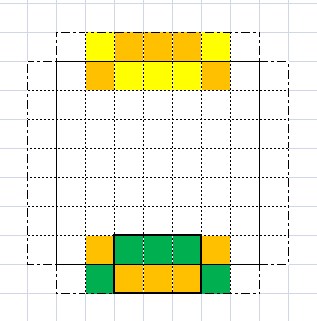
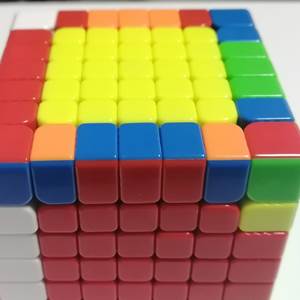
STEP-10・・1X5 中央を揃える(12か所)
パターン 1 3か所が下記の正位置
step-10: 1×5 中央
M3’ U’ R U
M3


パターン 2 逆色で向き合っている状態 → 同面同色にする
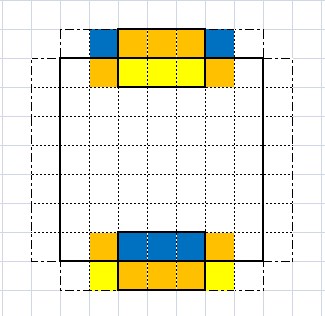
step-10: Reverse
B D6′ B → パターン 3
パターン 3 同色同面で向き合っている状態
step-10: 1×5 中央 同色同面
L2L2 FF UU L2L2
UU FF L2L2
パターン 4 (3個+2個)のセットが、向き合い
step-10: 1×5 中央 2組
M3′ U’ M3’ U’
M3′ UU M3 U’
M3 U’ M3
パターン 5 2組のセットの1組が色が逆 → パターン 6(1セットが残る)
step-10: 1×5 中央 Reverse
L2L2 FF UU L2L2
UU FF L2L2

パターン 6 1組が残った時の揃え方
step-10: 1×5 中央 1組
L2L2 BB R2’ FF
L2 FF UU L2
UU L2’ UU R2
UU BB L2L2

手順が長いので、声に出して、操作する事をお勧めします
STEP-10 完成形
5章 白面を揃える
STEP-11・・黄色面のエッジを白に揃える
側面の白エッジは90度回転、裏面の白エッジは180度回転で 揃えます
STEP-11 完成形
step-11: エッジ 白
右側の時
F’
左側の時
F
裏側
FF
正面下
D R F’ R’
白面を下にして、エッジ側面の色と側面の色を合わせて180度回転
正面の白エッジの側面と正面中央の色を同じにして
FF (4か所)
白面が上になるように持ち替えます
STEP-12・・コーナーを白にする
4か所のコーナに白を入れて
上面 白を完成させます。
パターン 1
右回しで入れる
(正面左横から)
R6 F R6′
パターン2
左回しで入れる
(正面右横から)
L6’ F’ L6
パターン 3
真下から入れる
(正面左下から)
R6 FF R6’ D’
R6 F R6′
STEP-12 完成形
白面が完成したので、2~6段目を揃えます
白面を下にして、黄色面が上になるように持ち替えます
6章 白面を下にして中段コーナーを揃える
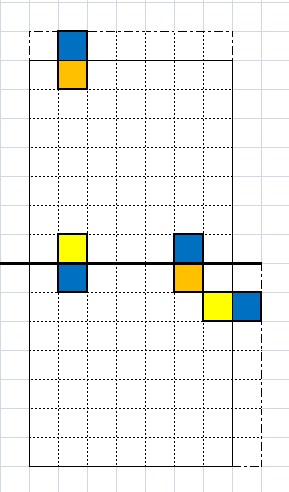
STEP-13・・(パターン 1) 右回転でエッジを入れる
step-13: 中段 右回転
U R U’ R’
F R’ F’ R
上面のエッジを右回転でいれます

上面の赤青を右側面に右回転して移動
ヒント: 右側に入れる時は 右回転から開始
STEP-13・・(パターン 2) 左回転でエッジを入れる

step-13: 中段 左回転
U’ L’ U L
F’ L F L’

上面の青橙を左側面に左回転して移動
ヒント: 左側に入れる時は 左回転から開始
STEP-13 完成形
7章 ルービックキューブ 上面を黄色にする揃え方
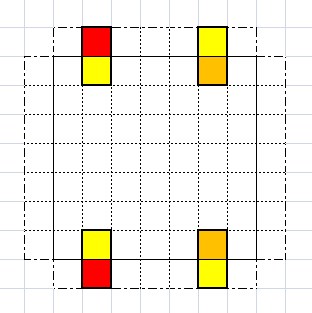
STEP-14 黄色面に十字を作る
パターン1 中央の黄色部分が時計の9時の位置からの揃え方
下記のパターンがありますが、すべて 時計の9時位置にして 操作します。
操作の結果 上面に黄色で十字の形ができます (STEP-15に進んでください)
step-14: 黄色十字
F U R U’ R’ F’

STEP-14 完成形

コーナ4か所以外が全て黄色になったら、STEP-15に進んでください
パターン2 中央の黄色が 横1列 パターン 1
step-14: 横1列
F U R U’ R’ F’

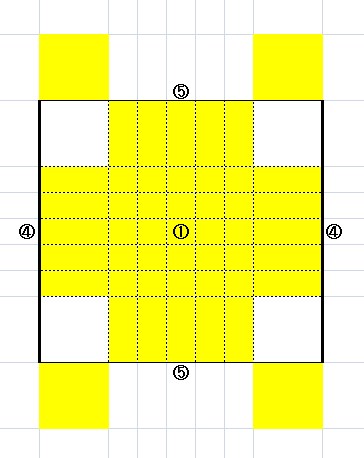
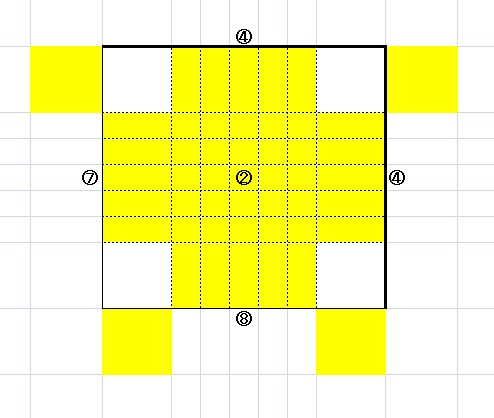
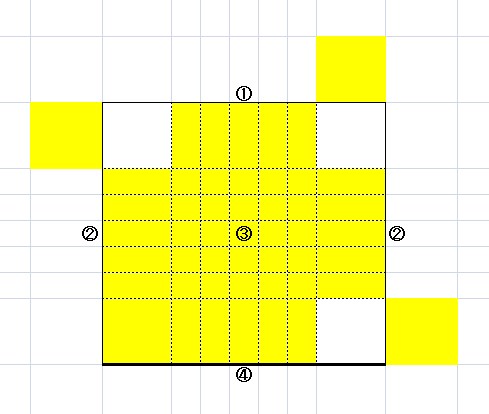
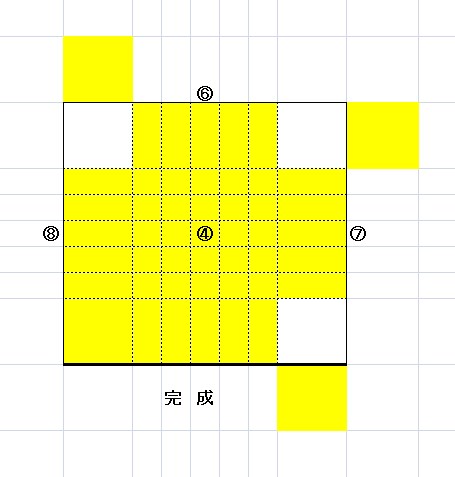
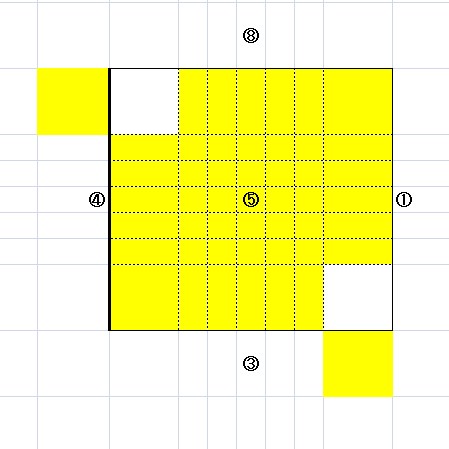
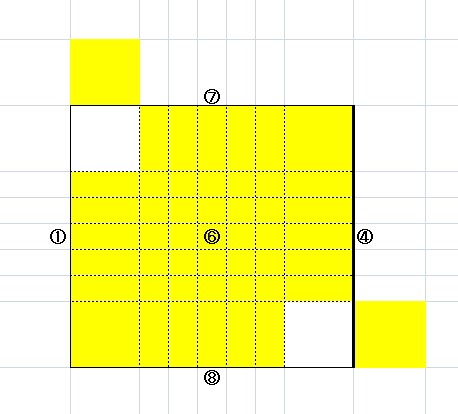
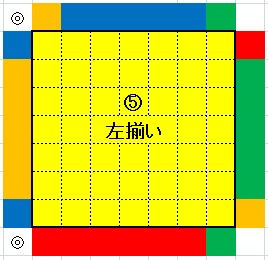
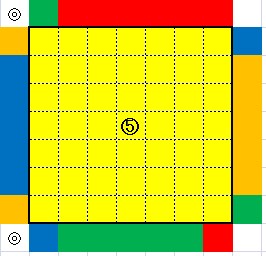
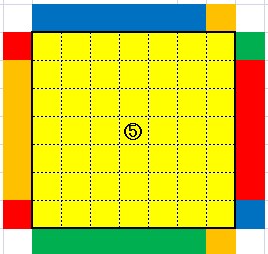
STEP-15 十字ができたら、上面を全て黄色にする(8パターン)
パターン ①~⑧
step-15: 黄色 全面
R U R’ U
R UU R’
下図④の下方向(正面)から見て 操作すると 黄面が揃います
パターン ①
コーナーの黄色 0個
①は右側から操作 → ④
パターン ②
コーナーの黄色 0個
②右側から操作 → ④
パターン ③
コーナーの黄色 1個(左手前)
①は下側から操作 → ④
パターン ④
コーナーの黄色 1個(左手前)
④は下側(正面)から操作 → 黄面 完成
パターン ⑤
コーナーの黄色 2個(斜め)
⑤は左側から操作 ④
パターン ⑥
コーナーの黄色 2個(斜め)
⑥は右側から操作 ④
パターン ⑦
コーナーの黄色 2個(並び)
⑦は右側から操作 ⑥ 右 ④
パターン ⑧
コーナーの黄色 2個(並び)
⑧は下側(正面)から操作 ④
④ 必ず揃うパターン(再掲載)
再度、記述します。 この形を作りましょう
左下が黄色で右下は黄色が手前を向いている

R 右
U 右
R’ 左
U 右
R 右
UU 右右
R’ 左
ここまでは、何度か練習すれば覚えられます。
できたら、右 右 左 右 右 右右 左 と声に出して操作すれば、覚えやすいですよ。
STEPー15 完成形
上面が揃ったので、STEP-16に進んでください。
私はこの後の操作は覚えていません。毎回 手順を見ながら操作しています。
8章 黄色面の側面を揃えて完成
STEP-16 側面を揃えて 完成する
6パターンありますので、完成しやすいパターンから書いています
① 向かい合った面のエッジを入れ替えれば揃う (コーナー4個揃い)
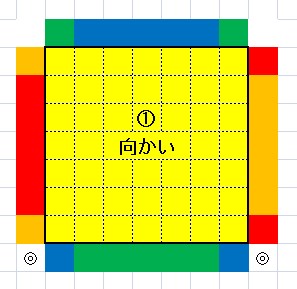
step-16: 側面 対面
M5M5 U M5M5 UU
M5M5 U M5M5
完成
② 隣面のエッジを入れ替え (コーナー4個揃い) → ① になる

step-16: 側面 隣
U’ M5′ U M5M5
U M5M5 U M5′
UU M5M5
①
③ 1面が揃い、残り3面は右回りで揃う (コーナー4個揃い)
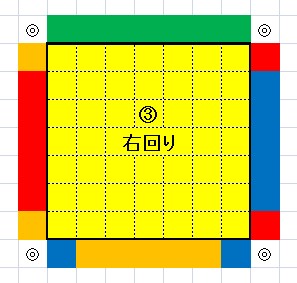
step-16: 右回り
RR U R U
R’ U’ R’ U’
R’ U R’
完成

④ 1面が揃い、残り3面は左回りで揃う (コーナー4個揃い)
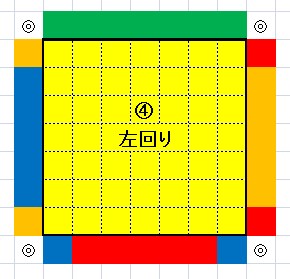
step-16: 左回り
R U’ R U
R U R U’
R’ U’ RR
完成
⑤ 左コーナー2個揃い+左面完成 (コーナー2個揃い)
下記の Tパーム と言われる操作をすると 上記の①~④の形になります。
①~④になれば ほぼ完成です。 揃った面を左側にして操作してください。
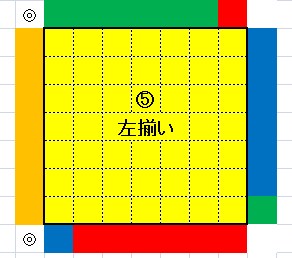
step-16 : T-Parm
R U R’ U’
R’ F RR U’
R’ U’ R U
R’ F’
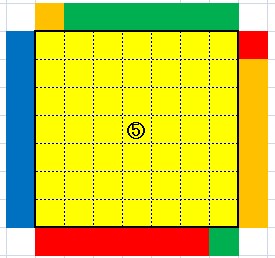
⑤ 左コーナー2個揃い (コーナー2個揃い)
下記の 「T パーム」 と言う操作で ①~④の形になります。
step-16: T-Parm
R U R’ U’
R’ F RR U’
R’ U’ R U
R’ F’
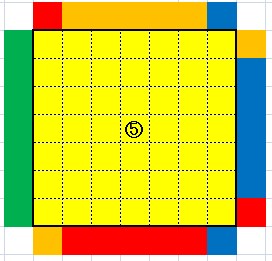
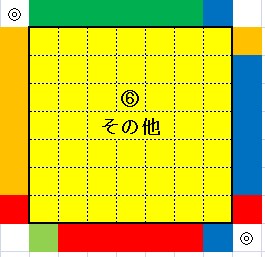
⑥ その他パターン
下記の 「T パーム」 と言う操作で ①~④の形になります。
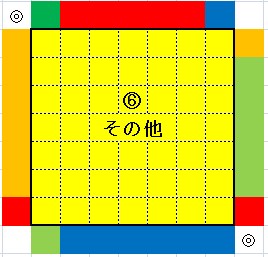
step-16: T-Parm
R U R’ U’
R’ F RR U’
R’ U’ R U
R’ F’

ルービックキューブ 7X7 完成

おめでとうございます
ルービックキューブ 7X7 揃え方のまとめ
早く揃えるためではなく、当サイトを見ながら 揃えられることに重点を置いています。
その為に、しつこい説明なってしまいました。 申し訳ありません。
最終ステップは見ながらでも 間違えることが多くて あれ? という事も多かったと思います。
間違えないように、できるだけ声に出して操作しましょう。
時間はかかりますが、完成した時に 達成感が感じられるのが「7X7のルービックキューブ」です。
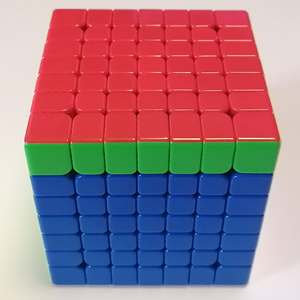
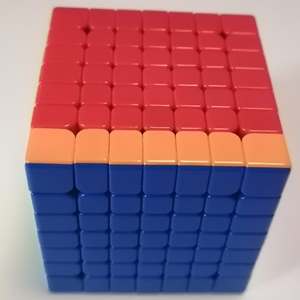
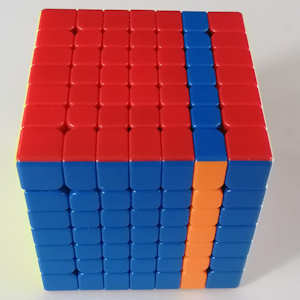
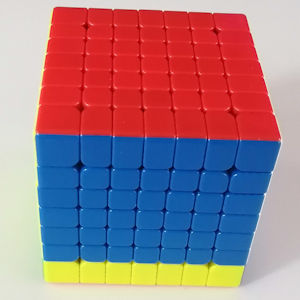
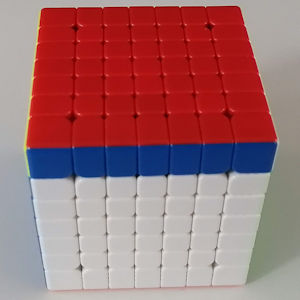
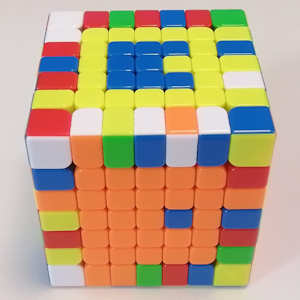
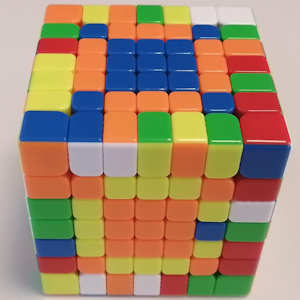
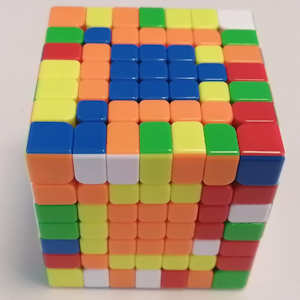
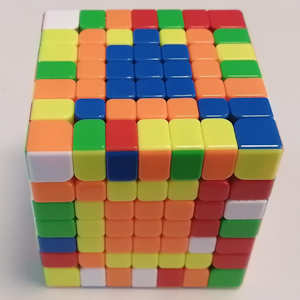
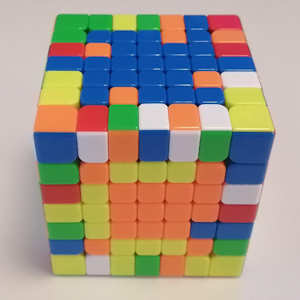
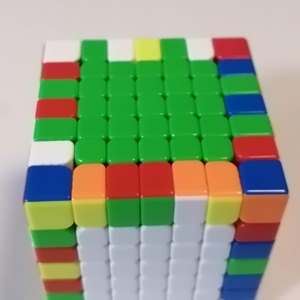
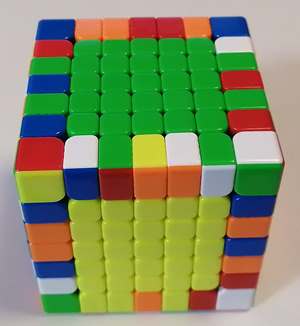
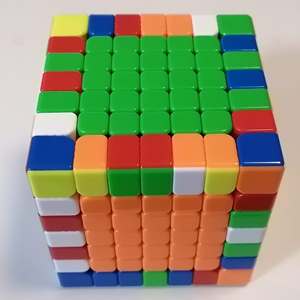
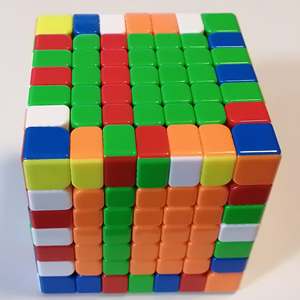
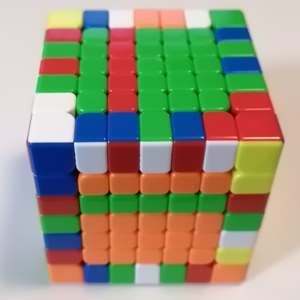
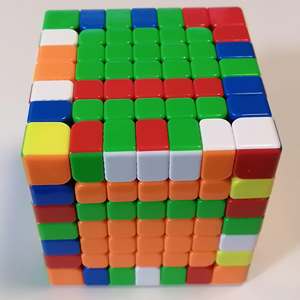
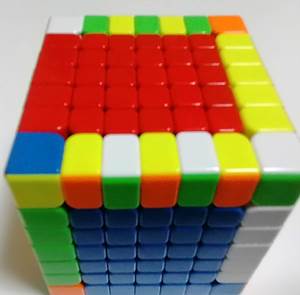
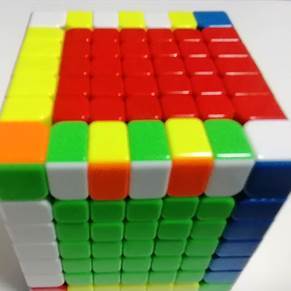
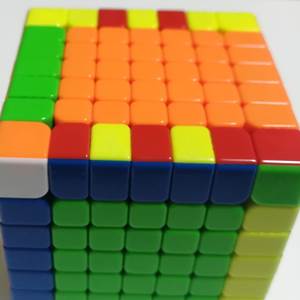
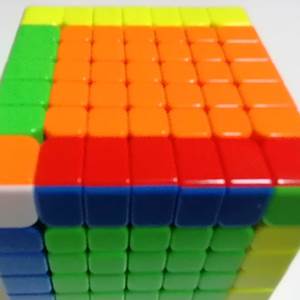
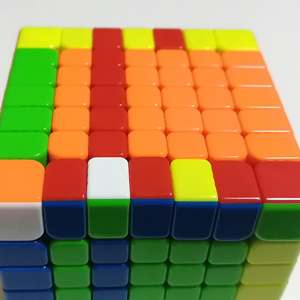
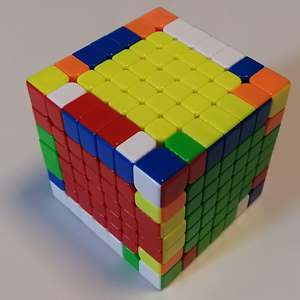
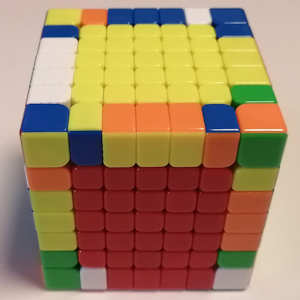
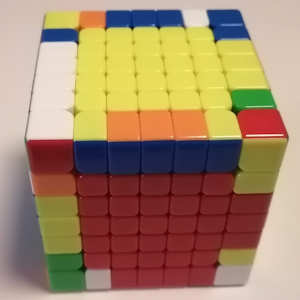
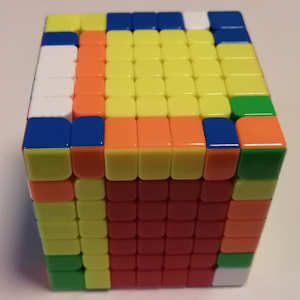
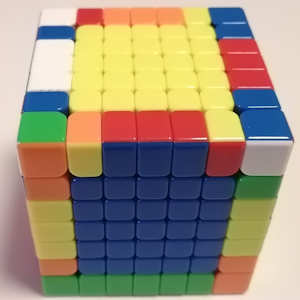
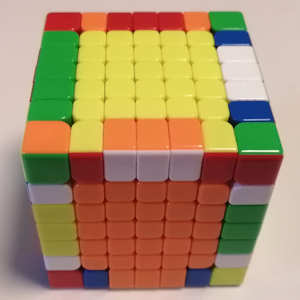
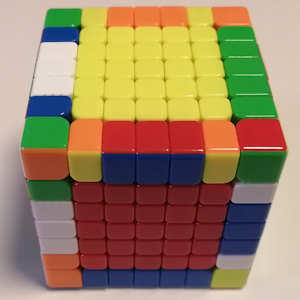
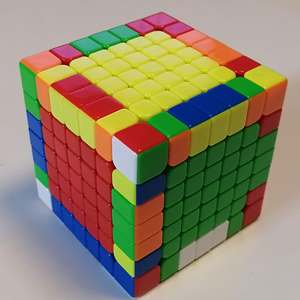
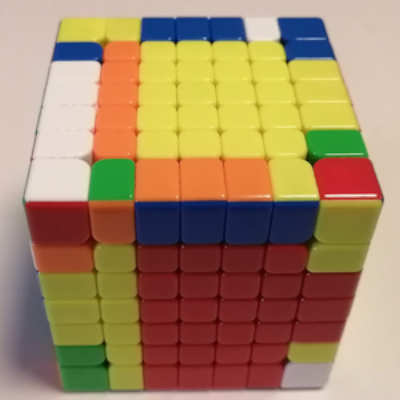
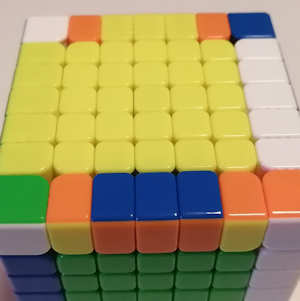
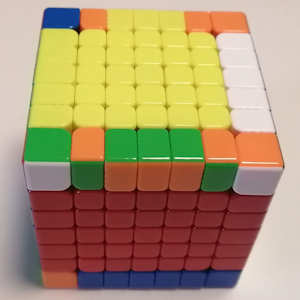
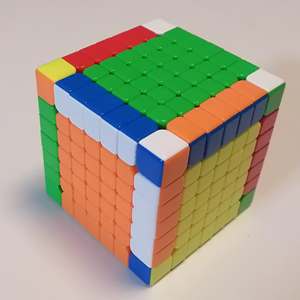
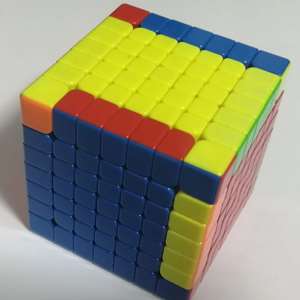
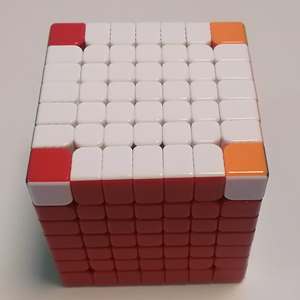
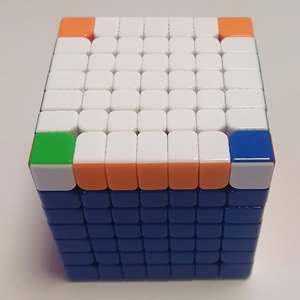
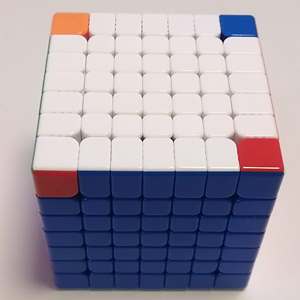
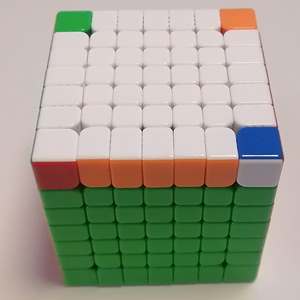
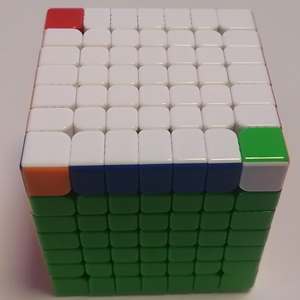
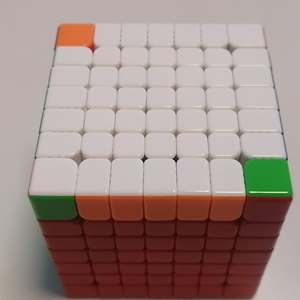
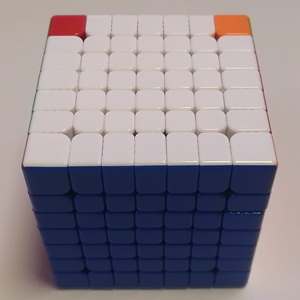
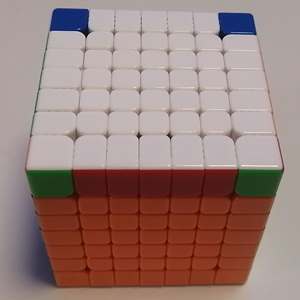
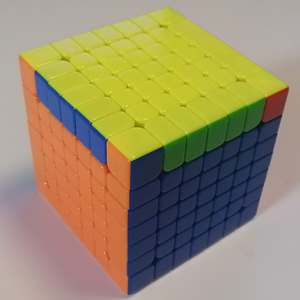
今回の説明に使った ルービックキューブはアマゾンで購入しました。
アマゾンには7X7のルービックキューブは沢山ありますが、写真のキューブは マグネット付きでスムースに動くのに、2,683円 (2023年時点)とコスパ最高の商品です。
シールもなく、色も綺麗なので、お勧めです。